![94682b08-af4e-42f2-b868-af7439511c70.jpg]](https://support.growdata.com.au/hs-fs/hubfs/94682b08-af4e-42f2-b868-af7439511c70.jpg?height=50&name=94682b08-af4e-42f2-b868-af7439511c70.jpg)
There are a few ways to use the Irrigation feature in GrowData, the video above shows an example of how to setup basic information for simple record keeping.
If you wish to record more detailed information such as valves, or for creating irrigation blocks (or shifts), see details further below.
Water Sources
Enter in your water sources. You only need to enter a price per meg if you wish to track water costs in GrowData. An average price per megalitre can be entered, and if desired, a date allocated for more accurate tracking (click on water prices to access this).
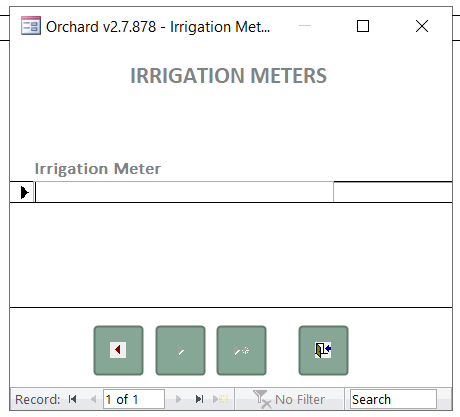
Irrigation Meters
This is an optional tool that can be used to store meter readings.
To calculate usage over a certain time, simply deduct the previous reading from the last reading and compare it against an irrigation report for the same period.
Emitters
If you wish to track Irrigation and Fertigation activities in GrowData, you'll need to set up emitter so that the system can calculate water output. Therefore we also need to identify which type of emitter is being used on each block and the hourly flow rate.
If you don't have these details, a simple Jug Test will give you the required information (example below is using a dripline irrigation system):
- Run the dripline up to pressure
- On the dripline, put a measuring jug under one of the emitters and time for 1minute. The water collected in the jug will allow you to calculate the L/hr per emitter.
- On the dripline, use a measuring tape to check the space between the drippers. This will allow you to calculate how many emitters are in a block.
1. In the Setup > Irrigation screen, select Setup Emitters.
2. Enter the Emitter Name, and the Flow Rate for the individual emitter (litres per hour)
If you have more than one type of Emitter, use the >* icon circled below to add new records for each of these. Once all of the emitter types have been entered, use the back door icon (pictured in bottom right below) to exit the window.

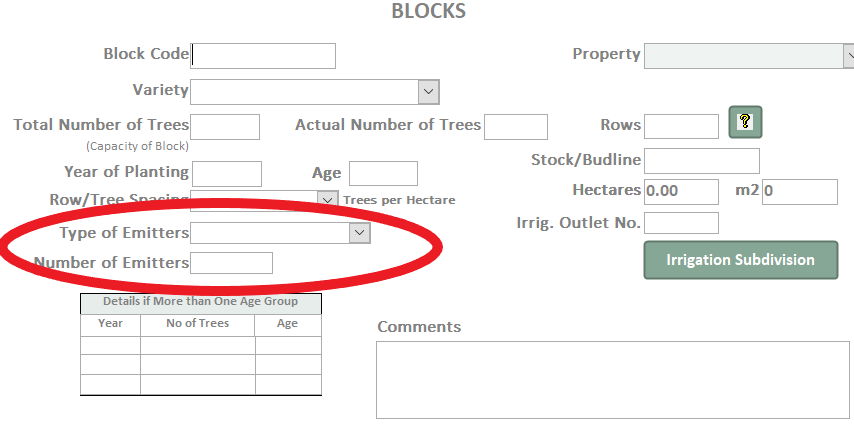
3. Go back to the Setup menu > open up Blocks and in each block you can now select the correct Emitter from the dropdown list. You will also need to put the total number of emitters within that block.
Valves
It's not essential to setup valves, but if you'd like to track Irrigation activities in more detail or create Irrigation shifts by the valve, here's how you can set these up.
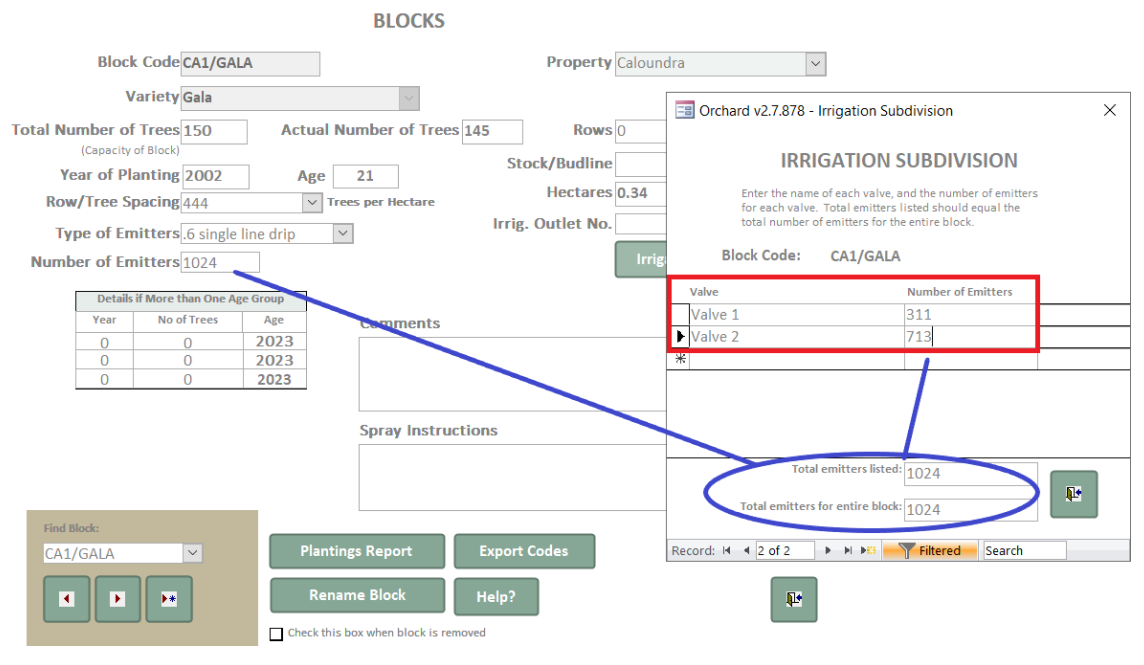
1. In the block setup screen, firstly ensure you've entered in your Emitters (outlined above).
2. Then, click on the Irrigation Subdivision button. In here, you can list the different valves connected to the emitters within the block. Ensure the combined total emitters listed match the total emitters for entire block.
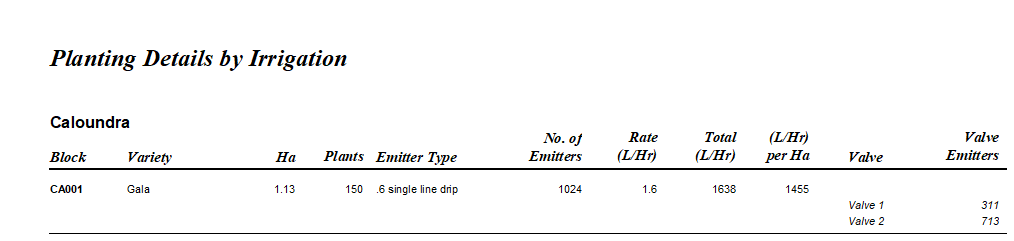
3. Repeat the above for each block. Once complete, we recommend running a Plantings Report by Irrigation to double check the details entered are correct. Example below:
Create Irrigation Blocks
To create Irrigation Blocks (or 'shifts'), you'll firstly need to ensure you've setup Water Sources, and Emitters.
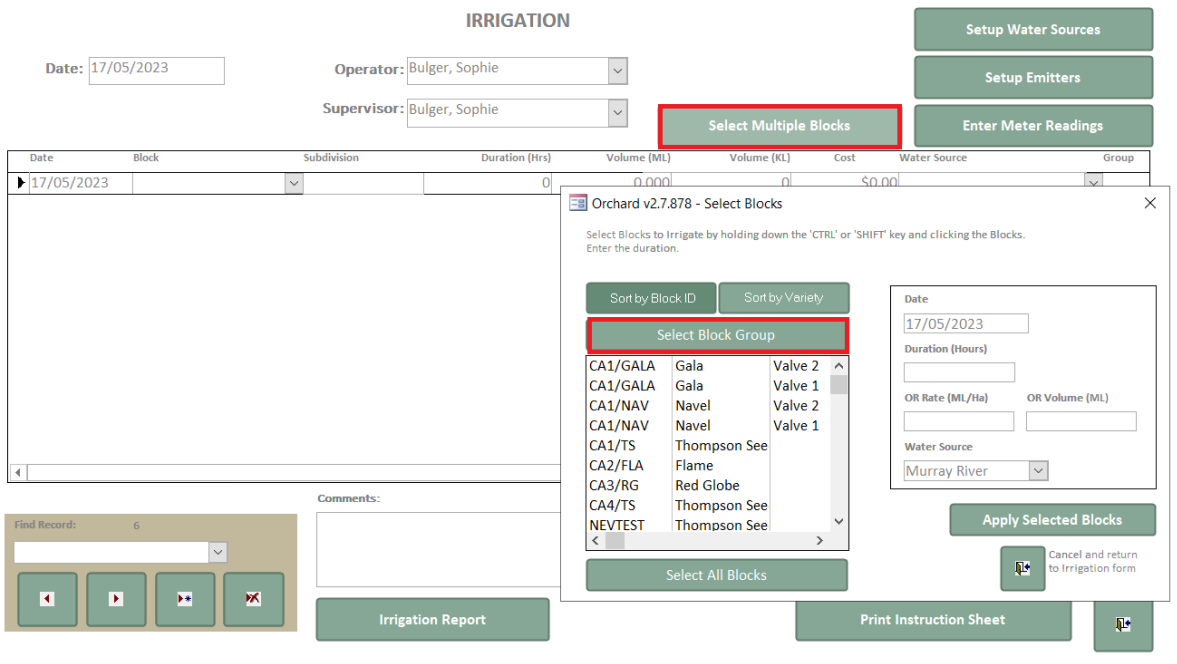
1. Go to Enter Data > Irrigation > Select Multiple Blocks > Select Block Group
Note, you can see in the example below which blocks on the list have been setup with valves and which ones haven't
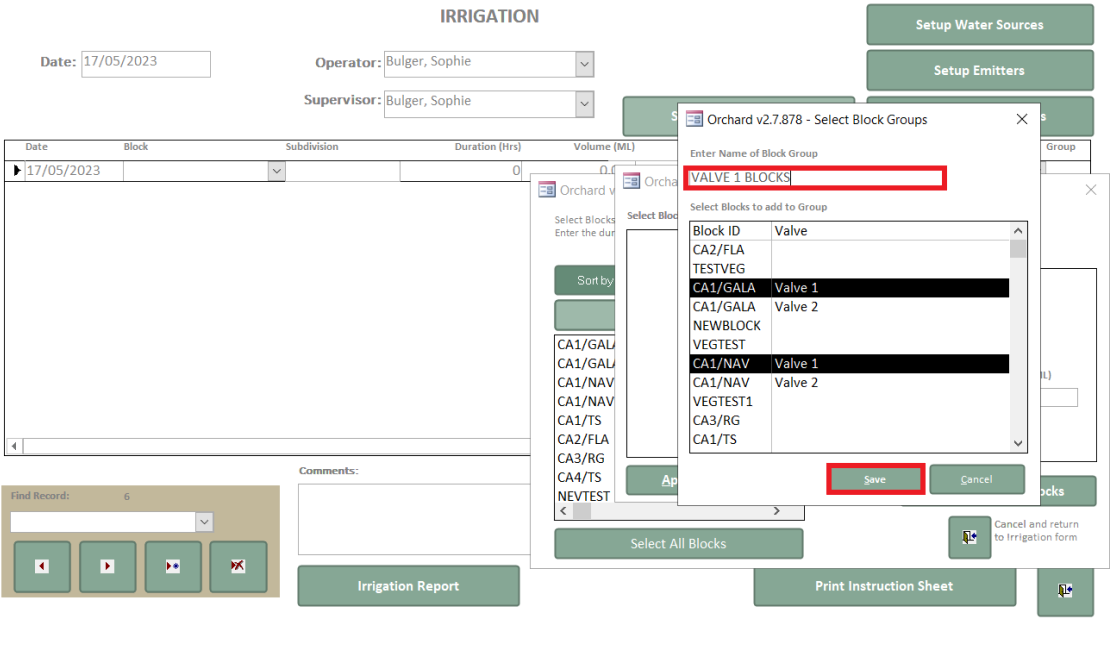
2. Click 'New Group' and another window will appear where you can type in the Name of Block Group, and select from the list which blocks you want to add to the group. Hold down your ctrl key and click on the blocks you wish to select (or hold down your shift key if you wish to select a portion of the list). Once the correct blocks have been added to that group, select save.
3. Now that you've set up these groups, you'll see them on the list under Select Block Group.